How to Fix Mixed HTTP and HTTPS Media Links in WordPress
How Do You Fix Mixed HTTP and HTTPS Media Links in WordPress?
To fix mixed HTTP and HTTPS media links in WordPress, first identify the insecure image, video, or background-image URLs on an HTTPS page. Confirm that each file works over HTTPS, correct the site’s WordPress and Site Address settings if necessary, and replace outdated HTTP references using a serialization-aware method. Clear your caches and test the affected pages again. Changing an SSL setting alone will not repair every old media URL stored in content, theme options, or page-builder data.
Why WordPress Media Links Become Mixed After Enabling SSL
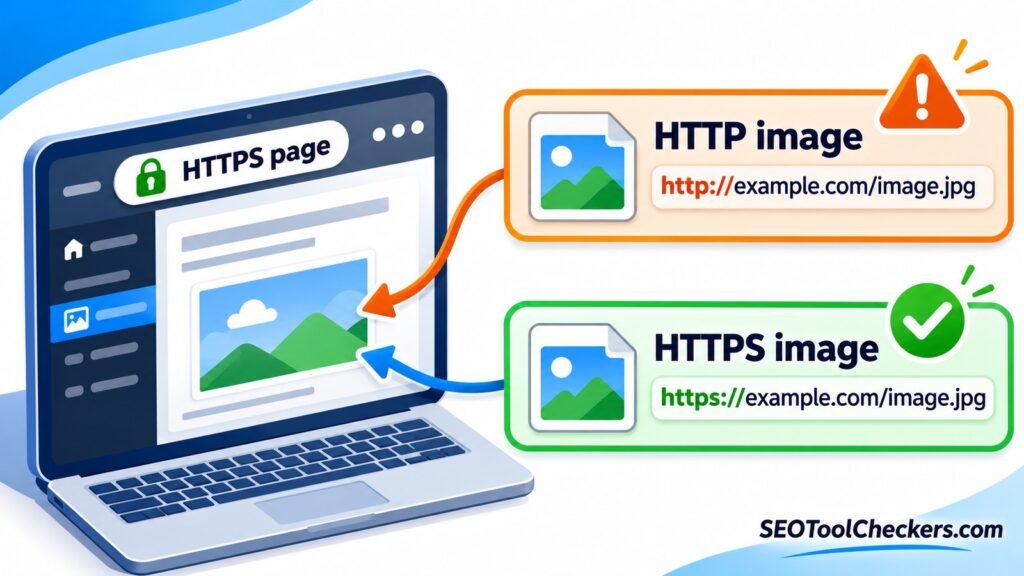
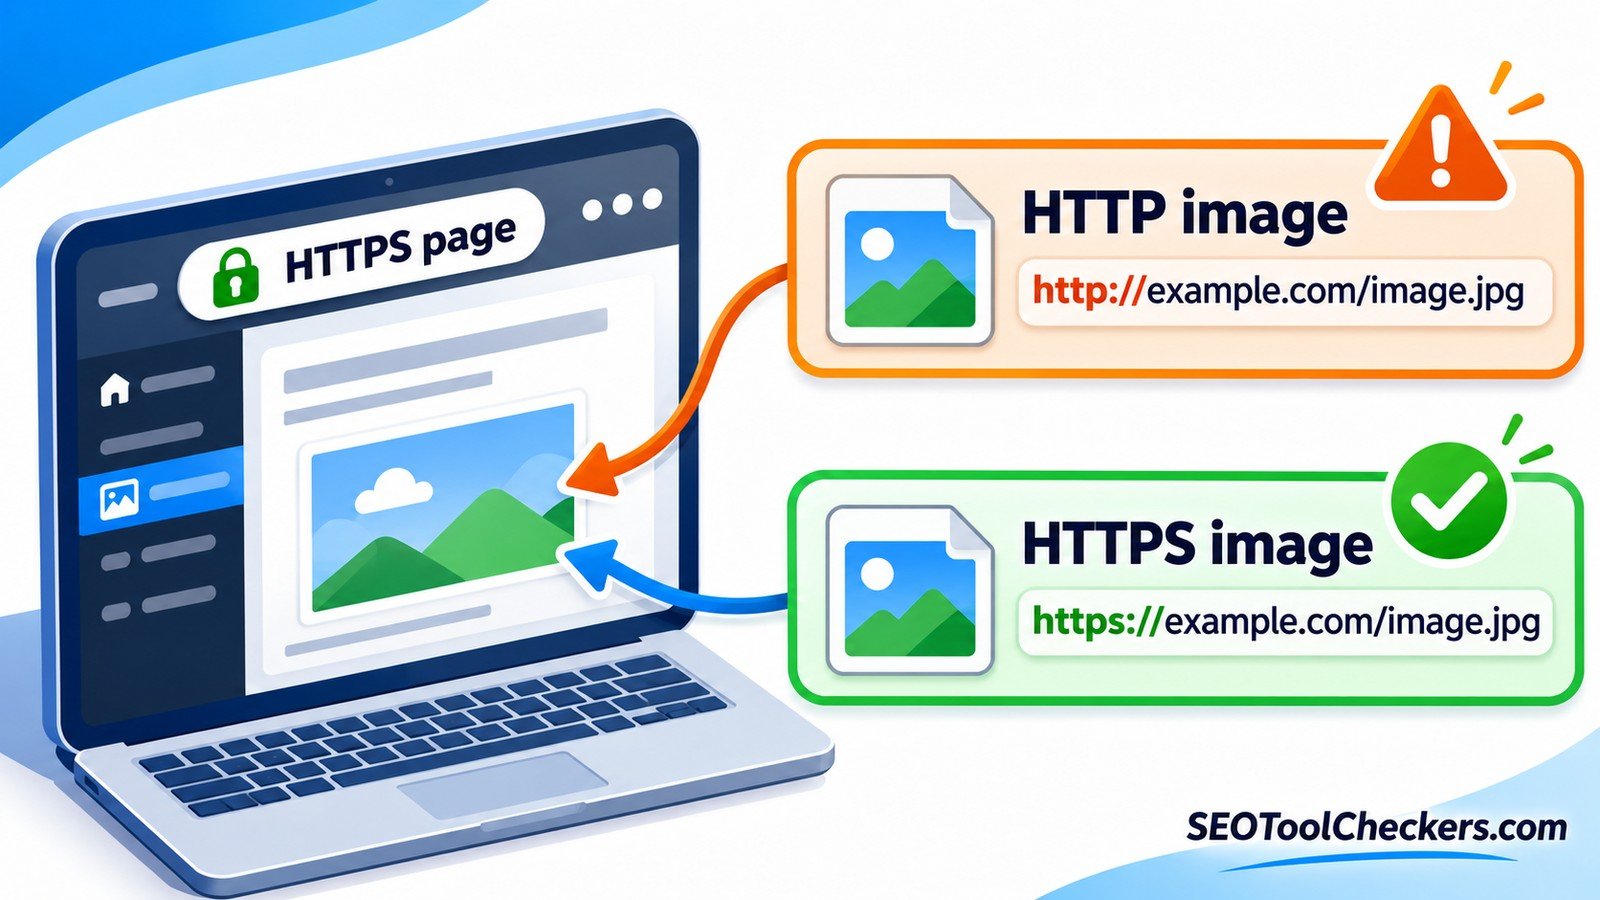
A mixed-content issue occurs when a page delivered through HTTPS attempts to load a resource using HTTP. On WordPress websites, the resource might be a featured image, logo, gallery image, CSS background, video poster, font, or a file embedded inside an older article.
The problem is common after an SSL installation, domain migration, staging-to-live move, CDN change, or switch from an HTTP-only website. WordPress can generate new secure URLs while older absolute URLs remain in the database. Some themes and page builders also store media paths independently of ordinary post content.
Modern browsers may automatically upgrade some HTTP image requests to HTTPS, while actively blocking other insecure resource types. Therefore, a picture that appears to load does not prove that the underlying source is correct. The goal is to eliminate insecure references, not merely hide the browser warning.
First, Check Whether the Problem Really Is Mixed Content
Before changing the database, open an affected page using its HTTPS address. Right-click the page, select Inspect, and check the browser’s Console and Network tabs. Look for mixed-content messages or requests that begin with http://.
- Reload the page with DevTools open so the request list is complete.
- Filter the Network panel by Img, then check other resource types if the issue includes CSS, fonts, or scripts.
- Copy the exact insecure URL and identify the element or stylesheet that requested it.
- Paste the same path with
https://into a new browser tab. Confirm the expected file actually loads. - Record whether the source is post content, a theme setting, a page-builder widget, or an external image host.
Important distinction: A media URL returning 404 over HTTPS is a missing-file or path problem, not something a simple protocol replacement can fix. Similarly, an expired certificate or CDN hostname mismatch must be corrected at the server or CDN level.
Understand the URL Changes Before Replacing Anything
The safest replacement changes only a known, working source into its equivalent secure destination. Check the hostname, upload folder, filename, and image variant before applying a site-wide update.
| Current reference | Expected secure reference | What to verify |
|---|---|---|
http://example.com/wp-content/uploads/2026/photo.jpg |
https://example.com/wp-content/uploads/2026/photo.jpg |
The same file is reachable over HTTPS. |
http://old.example.com/uploads/logo.png |
https://new.example.com/uploads/logo.png |
The domain move also preserved the file path. |
http://cdn.example.com/media/banner.webp |
https://cdn.example.com/media/banner.webp |
The CDN hostname supports valid HTTPS. |
These are illustrative URLs, not results from a live website. A protocol change and a domain migration are different operations. If files moved to a new directory, replacing only http with https will leave broken links in place.
For migrations involving many file references, use the WordPress Media URL Mapper to plan or review the old-to-new URL mapping. Treat mapping output as an audit aid: verify the destination before making changes in WordPress.
Step 1: Confirm HTTPS and the Two WordPress Address Settings
Start with the foundation. Confirm that the site has a valid TLS certificate, the public HTTPS homepage works, and any HTTP-to-HTTPS redirect leads to the intended canonical hostname. Then open Settings > General in WordPress.
Check these fields:
- WordPress Address (URL): where the WordPress application is installed.
- Site Address (URL): the public address visitors use to reach the website.
On a standard installation where both addresses share the same hostname and directory, each should normally use https://. Do not force both fields to identical values if WordPress is deliberately installed in a subdirectory. If the fields are disabled, inspect whether WP_HOME or WP_SITEURL is set in wp-config.php.
Save only the intended addresses. A typo can lock you out of the dashboard, and changing these settings does not automatically replace old hardcoded media references elsewhere in the database.
Step 2: Back Up the Site and Find Stored HTTP References
Take a restorable database backup and confirm that a recent copy of wp-content/uploads exists. If the site is busy or commercially important, test the process on staging first. Do not start with a blanket SQL replacement or assume every http:// URL belongs to your domain.
Inspect a small sample of affected posts in WordPress’s code editor. Old references can appear in image src attributes, responsive srcset values, galleries, reusable blocks, custom HTML, and page-builder settings. Also inspect the header logo, theme Customizer settings, widgets, and CSS background images.
To compare paths after a domain change, the Website Migration URL Mapper can help organize source and destination examples. The article’s essential task, however, remains the same: locate the stored reference and confirm the exact safe replacement.
Step 3: Replace Old Media URLs Without Damaging Serialized Data
Many WordPress options and plugin settings contain serialized PHP data, where string lengths are recorded alongside values. A raw SQL REPLACE() operation across arbitrary tables can corrupt those structures. Use a reputable, serialization-aware database search-and-replace method instead.
If your hosting account supports WP-CLI, run a dry run before making any change. The following example focuses only on a site’s old media folder:
wp search-replace 'http://example.com/wp-content/uploads/' 'https://example.com/wp-content/uploads/' --dry-run --skip-columns=guidReview the reported changes. Once you have validated the replacement and backup, run the same command without --dry-run:
wp search-replace 'http://example.com/wp-content/uploads/' 'https://example.com/wp-content/uploads/' --skip-columns=guidReplace example.com with your actual verified hostname. These commands are examples, not instructions to run unchanged. They do not fix assets on a separate CDN or old-domain paths, and they do not repair files that are absent from the destination server.
Do not rewrite the WordPress guid column as part of a normal URL migration. WordPress documentation treats it as a persistent identifier, and the --skip-columns=guid option keeps it out of this replacement. On multisite installations, review the relevant network/site scope before running any WP-CLI command.
Step 4: Repair Media Embedded by Themes and Page Builders
Database replacement is often necessary, but it is not always sufficient. A theme can generate an HTTP URL from a custom option, a page builder can rely on generated CSS files, and a cache can serve HTML created before the repair.
- Logos and header images: reselect the media item in the theme settings if its generated URL remains outdated.
- Page-builder images: use the builder’s supported URL replacement or regeneration tools if available, following that builder’s own instructions.
- CSS backgrounds: inspect generated stylesheets and custom CSS for hardcoded HTTP paths.
- Responsive images: check all candidates in
srcset, not just the primarysrc. - External embeds: confirm that the provider supports HTTPS. If it does not, replace the resource or host an authorized copy securely.
For example, Elementor sites can retain old image paths in editor data or generated files after an HTTPS migration. Its own tools provide URL replacement and generated-file cleanup options. Other builders may work differently; never assume they all share the same repair menu.
Step 5: Clear Caches and Test the Actual Browser Requests
Once references have been corrected, clear the relevant layers: WordPress cache plugin, page cache, CDN cache, generated theme or builder assets, and your local browser cache. Test a fresh browser session so cached requests do not conceal the outcome.
Reopen DevTools and visit a representative group of pages:
- The homepage, where logo and navigation assets load.
- An older post containing images uploaded before HTTPS was enabled.
- A gallery or product page with several image sizes.
- A landing page containing builder backgrounds or externally hosted media.
- A mobile viewport, which may choose a different
srcsetcandidate.
Inspect the Network panel’s actual request URLs and responses. A clean console is useful, but successful HTTPS responses for the affected images are stronger evidence that the fix works. If a picture remains broken, open its requested URL directly and distinguish a 403, 404, certificate error, or blocked mixed-content request.
Why a Redirect or Mixed-Content Plugin May Not Be Enough
A server-side 301 redirect from HTTP to HTTPS is an important part of a secure site, but it should not be your only media-link repair. The page may still contain an HTTP reference, the browser may block certain request types before they can be fetched, and external hosts may not have equivalent secure resources.
Similarly, a plugin that rewrites outgoing HTML can make the rendered page appear correct while outdated URLs remain stored in the database. That may be a temporary mitigation, not a permanent cleanup. A Content-Security-Policy directive such as upgrade-insecure-requests can also help in some environments, but it does not create an HTTPS resource where one does not exist.
Prefer fixing the source of the URL: the setting, content field, CSS rule, builder record, or CDN configuration that emits it. Then use redirects and browser protections as additional safeguards.
When the HTTPS Image Still Does Not Load
| Symptom | Likely cause | Best next check |
|---|---|---|
| HTTP image is flagged, but HTTPS version loads | Old stored media reference | Find and replace that exact URL source. |
| HTTPS image returns 404 | Missing file or changed path | Compare uploads folder and filename on the server. |
| HTTPS image fails certificate validation | TLS configuration or hostname mismatch | Inspect the certificate on that image hostname. |
| Old image returns after editing | Cached HTML, CSS, or CDN response | Purge caches and inspect the response initiator. |
| Only a background image remains insecure | Theme or builder CSS | Search generated styles and custom CSS. |
If an image’s dimensions or file format also need correction after the migration, use an image resizer and cropper for the separate formatting task. Changing image dimensions does not resolve insecure URLs, so handle it only after delivery paths work.
Keep HTTPS Media Consistent With Your SEO Signals
Media links and page canonical URLs are related but distinct concerns. Correcting an image’s protocol does not automatically update a page’s canonical tag, XML sitemap entries, internal links, or redirect configuration.
After a full HTTP-to-HTTPS website migration, audit your canonical URLs and sitemap to ensure they favor the HTTPS page versions. Google generally prefers HTTPS for equivalent content, but conflicting signals can complicate URL selection. Keep normal navigation links pointing directly to the preferred HTTPS addresses rather than making visitors rely on repeated redirects.
For image-heavy sites, also confirm that any image URL appearing in structured data, social sharing metadata, or product feeds uses the correct secure hostname. Those are separate places where an old path may survive.
Common Questions About WordPress Mixed Media Content
Will changing WordPress Address to HTTPS fix old image links?
It can correct URLs WordPress generates from that setting, but it does not automatically rewrite every absolute HTTP image reference saved in posts, builder data, widgets, or theme options.
Why does the image display if the browser reports mixed content?
Some browsers automatically upgrade eligible image requests from HTTP to HTTPS. The original reference is still outdated, and other resource types or hosts may behave differently.
Should I replace every occurrence of http:// in the database?
No. External domains, non-web identifiers, and intentional values require separate evaluation. Replace only audited URLs, use a serialization-aware tool, and protect the WordPress GUID column.
Does a padlock icon mean all media URLs are correct?
Not necessarily. Browser upgrades or redirects may conceal old references. Inspect actual resource requests in DevTools and verify that the intended assets load over HTTPS without errors.
Can an SSL plugin repair missing media files?
No. If the HTTPS destination returns 404 or the uploads directory was not migrated, restore or relocate the actual file. Protocol rewriting cannot recreate missing images.
Final WordPress Media HTTPS Checklist
- Verify a valid HTTPS certificate and the intended WordPress and Site Address settings.
- Find the precise HTTP requests using browser developer tools.
- Confirm each HTTPS destination before replacing stored URLs.
- Back up the database, use a serialized-data-safe replacement, and skip GUIDs.
- Inspect page builders, CSS backgrounds, logos,
srcset, and CDN media. - Clear all caches and retest representative desktop and mobile pages.
Bottom line: the reliable fix is to correct the insecure reference at its source and confirm that its destination serves the expected media over HTTPS. Use redirects and caching controls to support that repair, not to replace it.